


Making a sourdough starter is one of the quiet pleasures of home baking. You begin with two ingredients that seem almost too ordinary—flour and water—and over a week you coax them into a living culture that can raise bread for years. There is no secret ingredient and no special equipment beyond a jar and a scale. What you need is a little patience, a consistent routine, and the willingness to look closely at what is happening in the jar.
Before Day One: Set Yourself Up Properly
A sourdough starter is a small ecosystem of wild yeasts and bacteria. Your job is to give it food, water, warmth, and a clean home, then stay out of its way. Gather these basics before you begin:
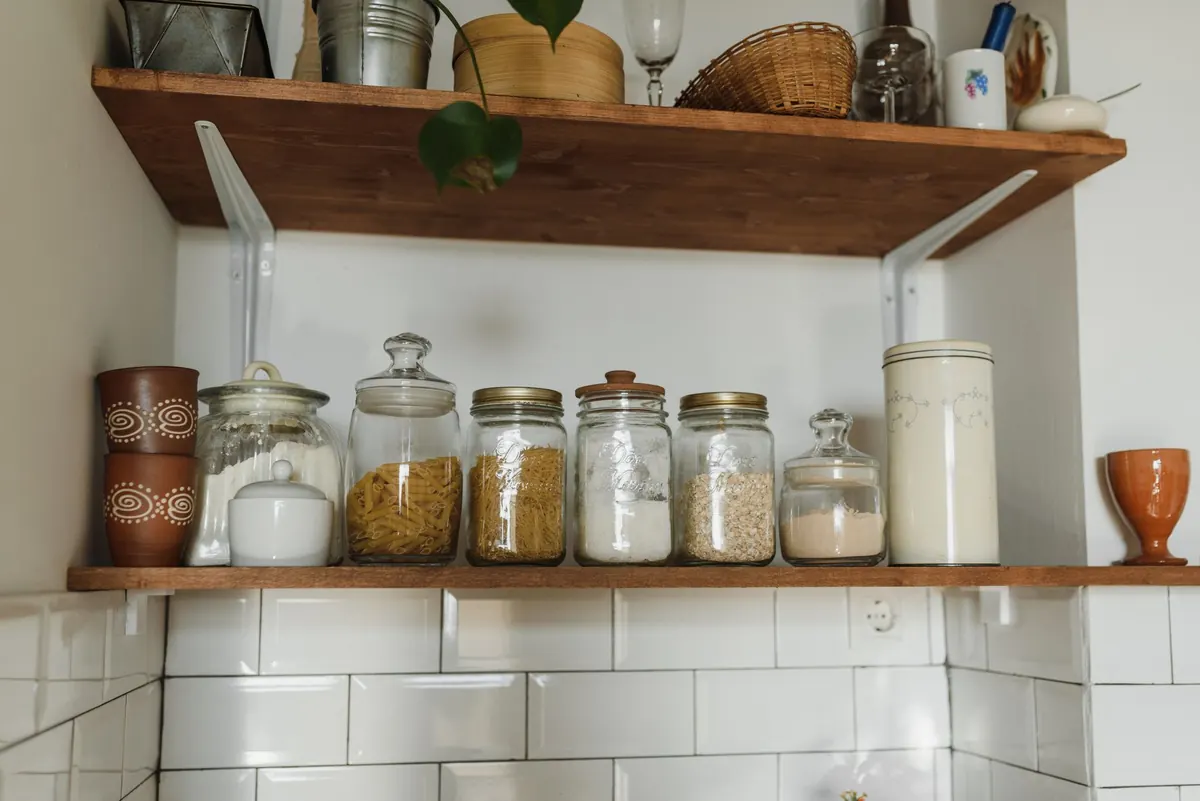
- A clear glass or food-grade plastic jar, about 500 ml to 1 litre, with a lid you can leave loose.
- A digital scale that reads in grams. Sourdough is far more consistent when you weigh rather than scoop.
- Wholegrain flour—rye or wholewheat—for the first days, plus white bread flour for later feedings.
- Water that is free of strong chlorine. Filtered or bottled water is fine; if your tap water is heavily chlorinated, let it stand overnight before use.
- A small spatula or spoon, and a strip of tape or a rubber band to mark the level in the jar.
Keep the jar somewhere draught-free at roughly 22–26°C. A kitchen shelf away from the oven door is usually better than a cold windowsill. You do not need to sterilise anything, but everything should be clean.
Day 1 to Day 3: Mix, Wait, Repeat
Day 1
Weigh 50 g of wholemeal rye or wholewheat flour into the jar, add 50 g of lukewarm water, and stir until no dry flour remains. Scrape down the sides, mark the level, and cover the jar loosely. Leave it at room temperature for 24 hours. That is the whole job.
Day 2
You may see a few small bubbles, a slightly sour smell, or nothing much at all. All three are normal. Discard half the mixture—about 50 g—then add 50 g of flour and 50 g of water. Stir well, mark the new level, and leave it again. From here on, use a simple mix of wholemeal and white bread flour if you like; a little wholemeal keeps the culture well fed, while white flour makes it easier to read the rise.
Day 3
By now you may see more bubbles and a thicker, spongy texture. Feed the same way: discard half, add 50 g flour and 50 g water, stir, mark, and leave. If a dark liquid appears on top, it usually means the starter is hungry. Pour it off, feed as usual, and carry on. Fuzzy mould—especially pink, orange, or green—is different; discard the starter and begin again with a clean jar.
Day 4 to Day 5: The Slump That Trips Everyone Up
Many starters put on a burst of activity around day two or three, then go quiet. The jar may smell sharp, look flat, or seem to do nothing at all. This is common. The early bubbles often come from bacteria that thrive before the yeast population catches up. Keep feeding once a day with the same 1:1:1 ratio—one part starter, one part flour, one part water by weight—and keep the jar warm.
Resist the urge to add sugar, vinegar, raisins, or extra flour to force activity. A starter needs flour, water, and time. If the smell is sharply of acetone or nail polish remover, pour off any liquid, feed, and give it another day. If the starter is very sluggish and your kitchen is cool, move it somewhere warmer rather than feeding it more often.
A quiet starter is not a failed starter. It is usually a culture finding its balance.
Day 6 to Day 7: Building Strength
Once you see regular bubbles and a little rise after feeding, move to twice-daily feedings, about 12 hours apart. Keep the ratio simple: 50 g starter, 50 g flour, 50 g water. Use white bread flour for most of the feed, with perhaps 10–20 g of wholemeal for flavour and vigour. Stir thoroughly, scrape the jar clean, and mark the level each time.
On day seven, watch the jar rather than the clock. A strong starter will double in size within roughly 4–8 hours at 24°C, dome slightly on top, and smell pleasantly sour—like yoghurt, green apples, or fresh bread. If it rises and falls before you get to it, that is a sign of health too; it simply means the culture is hungry again. If your starter is still thin and slow, keep feeding twice daily for another two or three days. Seven days is a guide, not a deadline.
How to Tell Your Starter Is Ready
Ready starter is lively, not merely wet. Look for a domed surface, a network of bubbles through the side of the jar, and a spongy texture when you stir it. It should double reliably after a feeding and smell sour but not unpleasant. A starter that has just been fed is not yet at its best; wait until it has risen and is close to its peak before mixing dough.
The float test—dropping a spoonful into water to see if it floats—can be a useful clue, but it is not foolproof. Some ready starters sink, and some hungry ones float. Trust the rise, the smell, and the texture in the jar more than a single trick.
Keeping It Alive After Day Seven
If you bake often, keep the starter at room temperature and feed it once or twice a day, discarding the excess or using it in pancakes, flatbreads, and crackers. If you bake less often, refrigerate it and feed it once a week: discard most of it, add fresh flour and water, let it sit at room temperature for an hour or two, then return it to the fridge. Before baking, bring it out, feed it, and wait for it to rise.
Remember that a starter is resilient. A neglected jar with dark liquid on top can often be revived with a few regular feedings. Keep the jar clean, use fresh flour, and stay consistent. Within a week or two, you will have a culture that is not just active but genuinely yours—and a simple, repeatable rhythm for keeping it that way.
Photo: Couleur / Pixabay
Related posts
More stories you’ll love reading